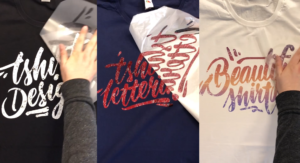
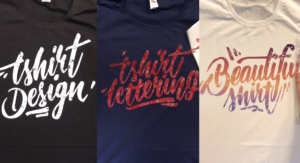
Create Custom T-Shirt Designs from Words & Phrases
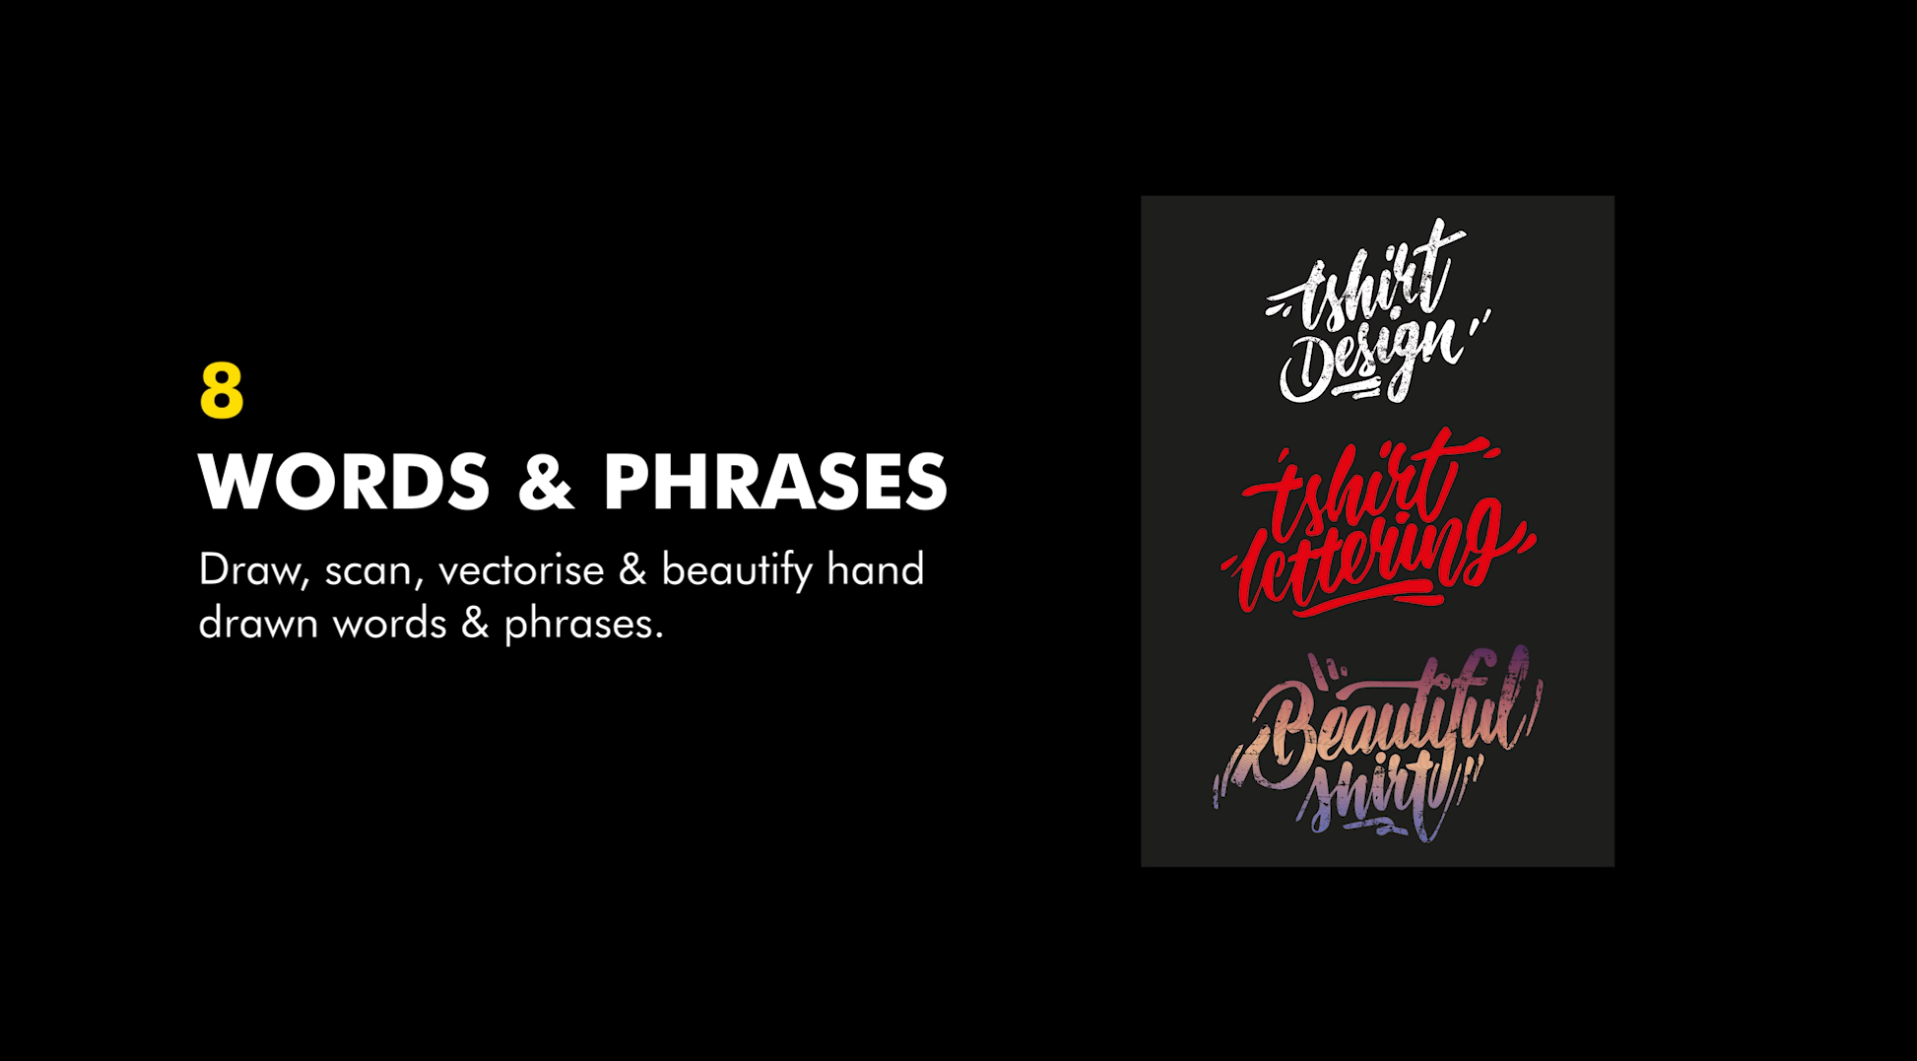
In this tutorial, we will run you through the process of creating your very own hand drawn Words & Phrases t-shirt designs. And, how to prepare your images for printing your images with digital heat transfers.
The continuous challenge of coming up with new and creative t-shirt designs is nothing new. The key to creating great t-shirt designs that will sell, is to research current trends and styles that are selling best and gaining popularity each year. And let’s face it, that’s no easy task with fashion trends changing so often!
One such trend which we are seeing everywhere, are hand lettering style t-shirt designs. These calligraphy Words & Phrases are literally taking over the internet. Especially on social media. People cannot get enough of these hand drawn quotes and power words.
Create Custom T-Shirt Designs from Words & Phrases
Step 1: Start Sketching
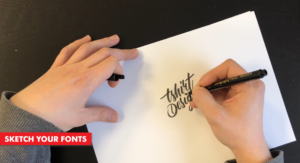
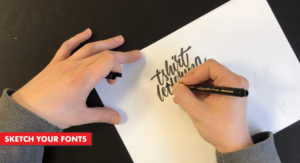
The first thing we need to do is get out our pen and paper. Then start sketching out our design. If you are having trouble coming up with some ideas, you can find inspiration online.
Calligraphy Inspiration:
These are just a few of the many inspiration style website, which you can find with a quick google search.
Step 2: Scan, Import & Vectorize
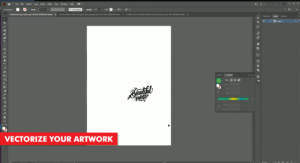
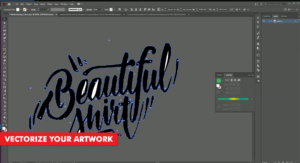
Once you have sketched out your word and/or phrase, we are ready to move on to the next step. Converting our pencil lines into vector lines.
These days, there are many different ways of getting your sketching into your computer. You probably already have your favourite option in mind.
Here are a few ways of getting your paper sketches into your computer:
- Scan your image
- Take a Photo with your phone
- Take a photo with your camera
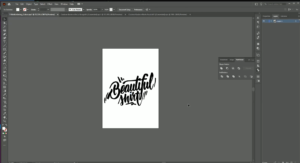
Once you have your image on your computer, then we need to open it up in our vector based program or app. For this tutorial, we went with Adobe Illustrator.
Step 3: Add Color
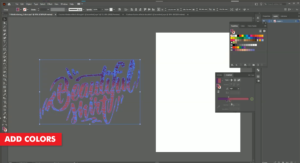
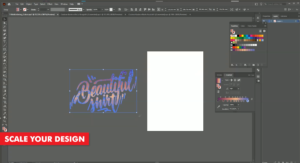
Now that our image has been redrawn, we can start adding colour to our Words & Phrases. For these designs we can use the Selection tool and simply choose a colour from the colour palette. You may even want to add a nice gradient to your quotes instead of using a flat colour. This all depends on your printing situation.
Adding Vintage Effects
A great option which we can add to our hand lettering images, is adding a vintage effect to the text. Adding vintage effects to our text will, firstly, make it look cooler, but, when we press our design to our garment, it will do two more things. We will save on toner as well as increasing the washability and durability of the finished garment.
Step 4: Print through the TransferRIP
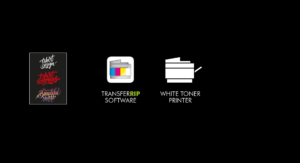
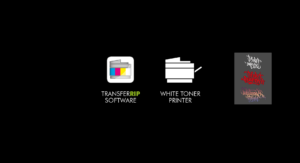
Now that our illustration t-shirt design is complete, we can go ahead and print it. The best way to do this is by processing our image through the TransferRIP software.
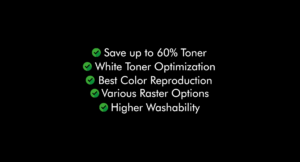
In this tutorial, we created a very colourful image, with not so many dark or black areas in the image. So when we process this image through the TransferRIP, we do not need to use any raster options. Instead, we can use the TransferRIP to reduce our white toner usage.
Processing images through the TransferRIP software, without using any raster options, will still benefit our business. This is becasue we can still save up to 25% on our white toner use. This option also makes our colours pop from the t-shirt. Which is an added benefit and not such a bad one.
Step 5: Press to the T-Shirt
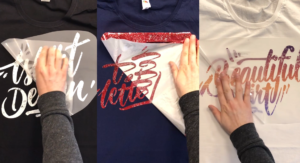
Once your design has been printed out, you can then press your t-shirt transfer to your garment.
Take a look at our many other tutorials to learn how to press to t-shirts.
Conclusion
For more information on working and printing with Photoshop clipping paths, please take a look at our other tutorials. Our tutorials are primarily focused on how to make your life easier, so you can create designs for heat transfer papers and the OKI white toner laser printers.
You can learn more about our products over at our products page. We have a large range of products, which help you create and customise almost any garment or surface. Our goal is to help your business grow.
Or sign up for the White toner transfer newsletter and we will send tutorials, tips & tricks and inspiration straight to your inbox.
Leave a comment below. Let us know how your designs turned out and if you have any new topics which you would like to see, then please let us know too.

