How to Create T-Shirt Designs with Adobe Spark
In this video you will learn how to create t-shirt designs with Adobe Spark.
If you are the type of person who is always looking for a way to create a t-shirt design with minimal effort, all while making your t-shirt designs look great, then Adobe Spark is definitely the tool for you.
Why Use Adobe Spark
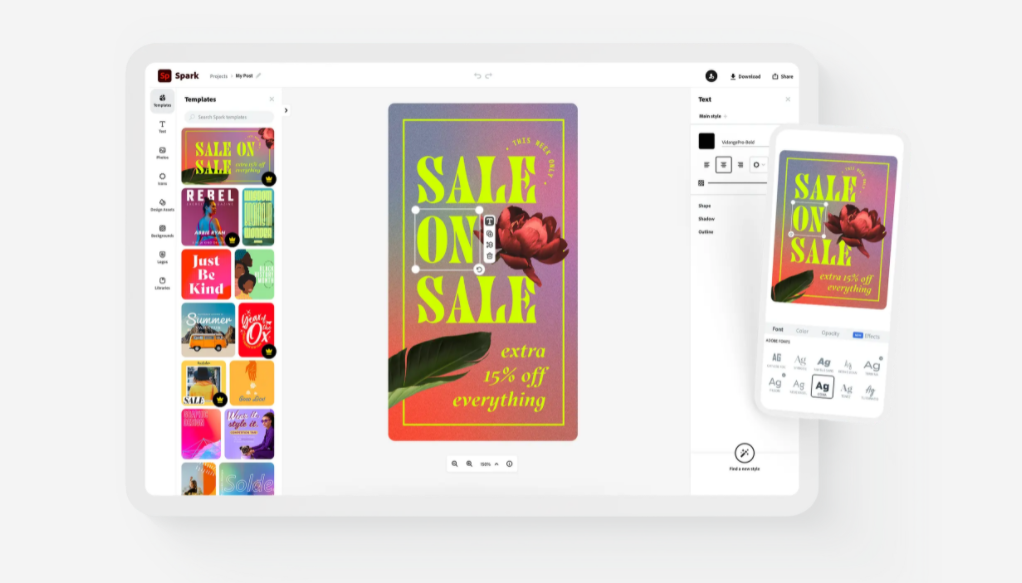
Adobe Spark is the ultimate browser based software for creating authentic professional content for social media, websites, print media, videos and more. You can do all this on your phone.
With the app versions of Adobe Spark, you have the flexibility to take inspiration from your surroundings. When the opportunity strikes, you can simply take out your phone and start taking photos, or start taking notes of whatever your t-shirt design should be.
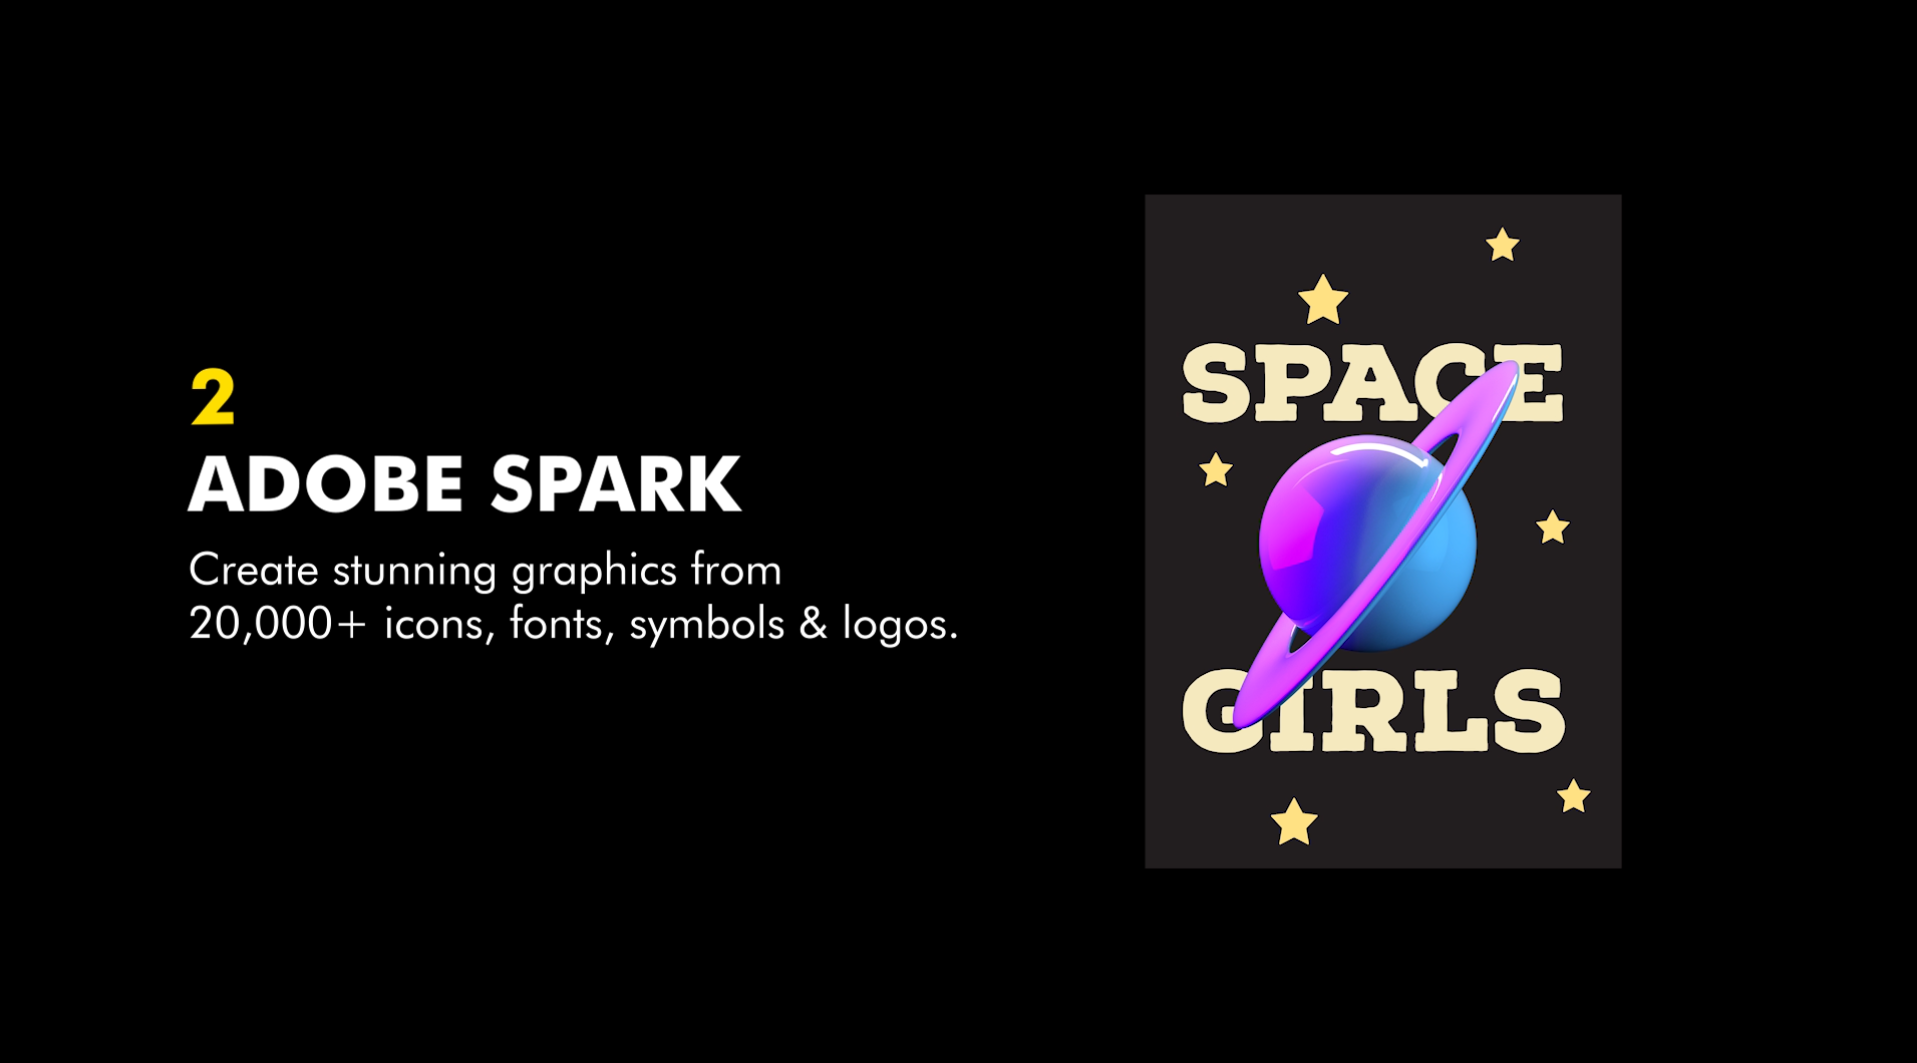
Adobe Spark offers over 20,000 plus assets, icons, images and fonts. That’s right, with Adobe Spark, you don’t need to worry about having to buy extra font packages or vector icons or illustrations to help boost or speed up your t-shirt designing process. Adobe Spark has everything in one place.
You can start creating t-shirt designs within a few minutes. With their extremely simple layout interface, you’ll be creating t-shirt designs in no time at all.
How to Create T-Shirt Designs with Adobe Spark
Account & File Setup
Creating a free Adobe Spark account is easy. Once you create your free Adobe Spark account you will be able to get started.
- Go to the Adobe Spark homepage.
- Login if you’re not already.
- Below the main banner you will find some suggestions to get you started.
- Choose the “Photo collage” option.
- Skip the option to upload or add an image to your design.
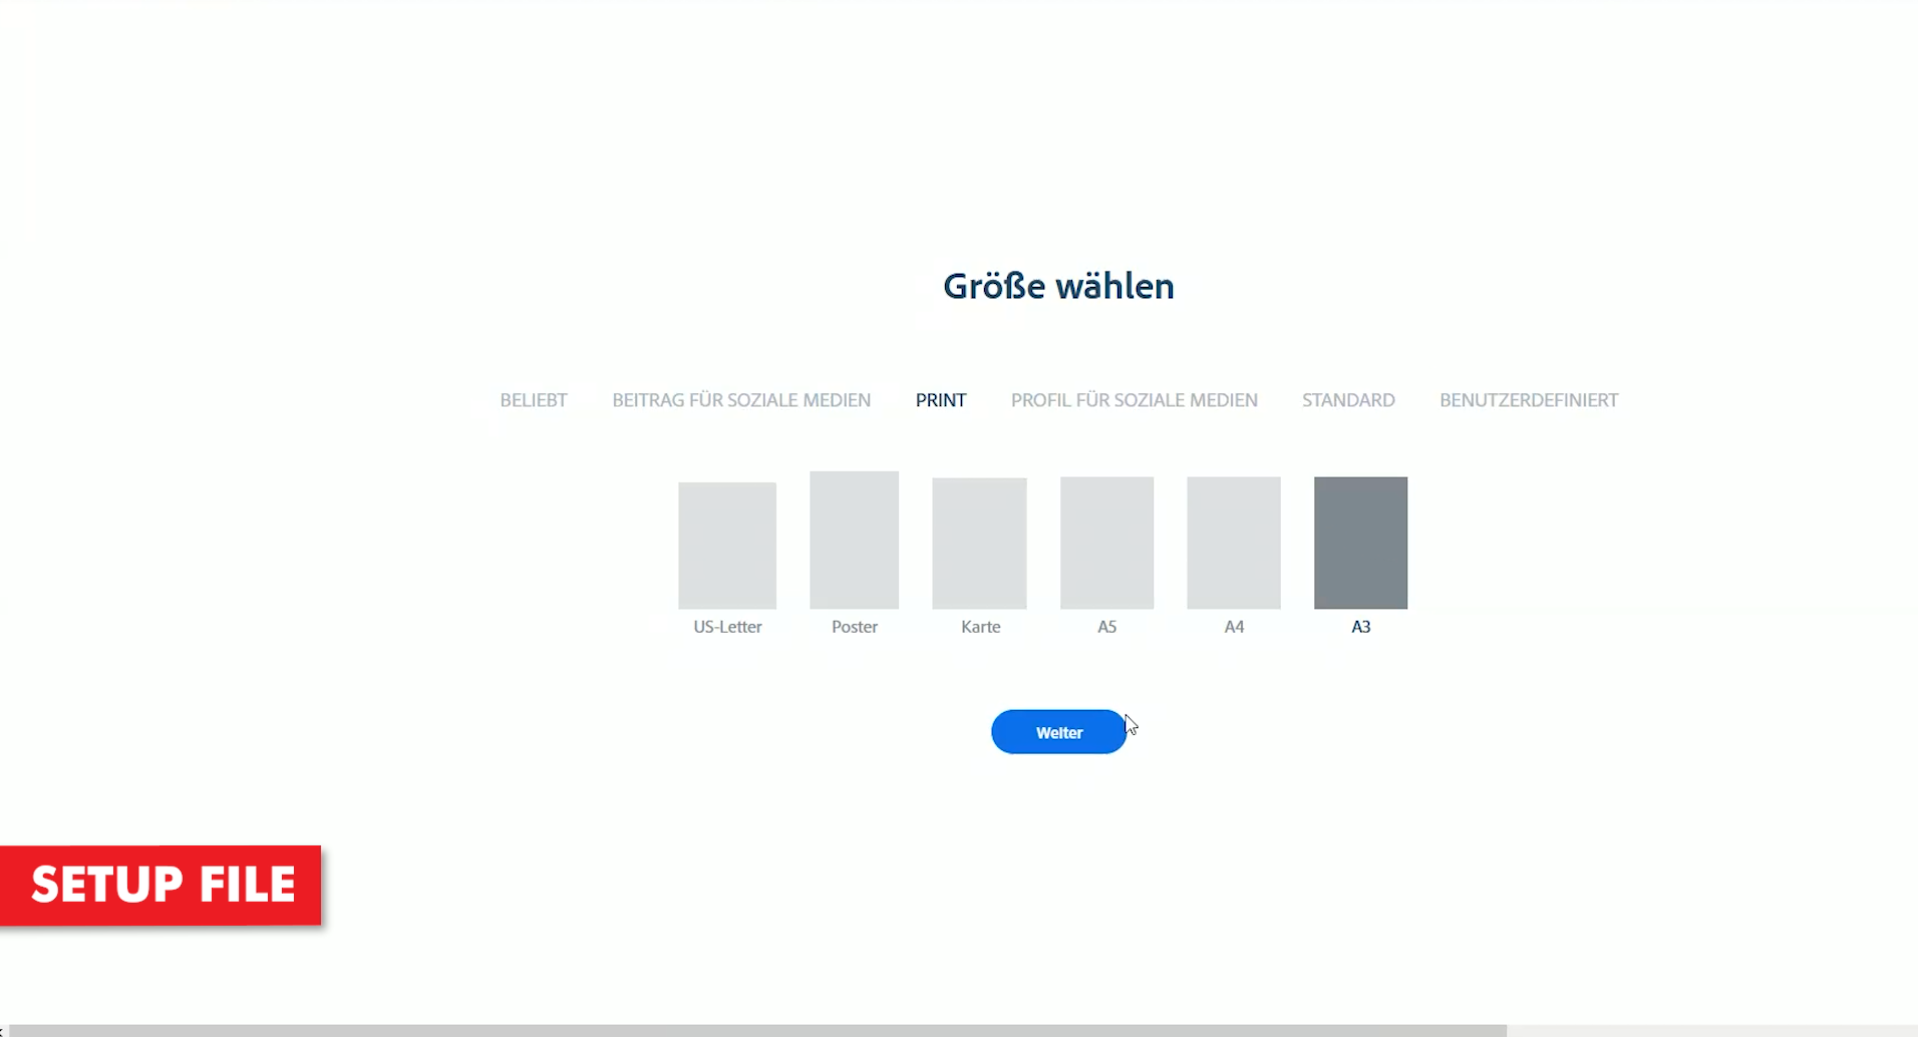
- Next, choose a canvas size. We should first click on the “Print” options first.
- Choose one of the available print options. We went with the A3 paper size.
- Click Next to create your canvas.
1. Setup File
2. Add Designs
3. Add Text
4. Add Details
5. Scale to Fit Canvas
6. Print & Press to T-Shirt
Designing T-Shirts like a Pro
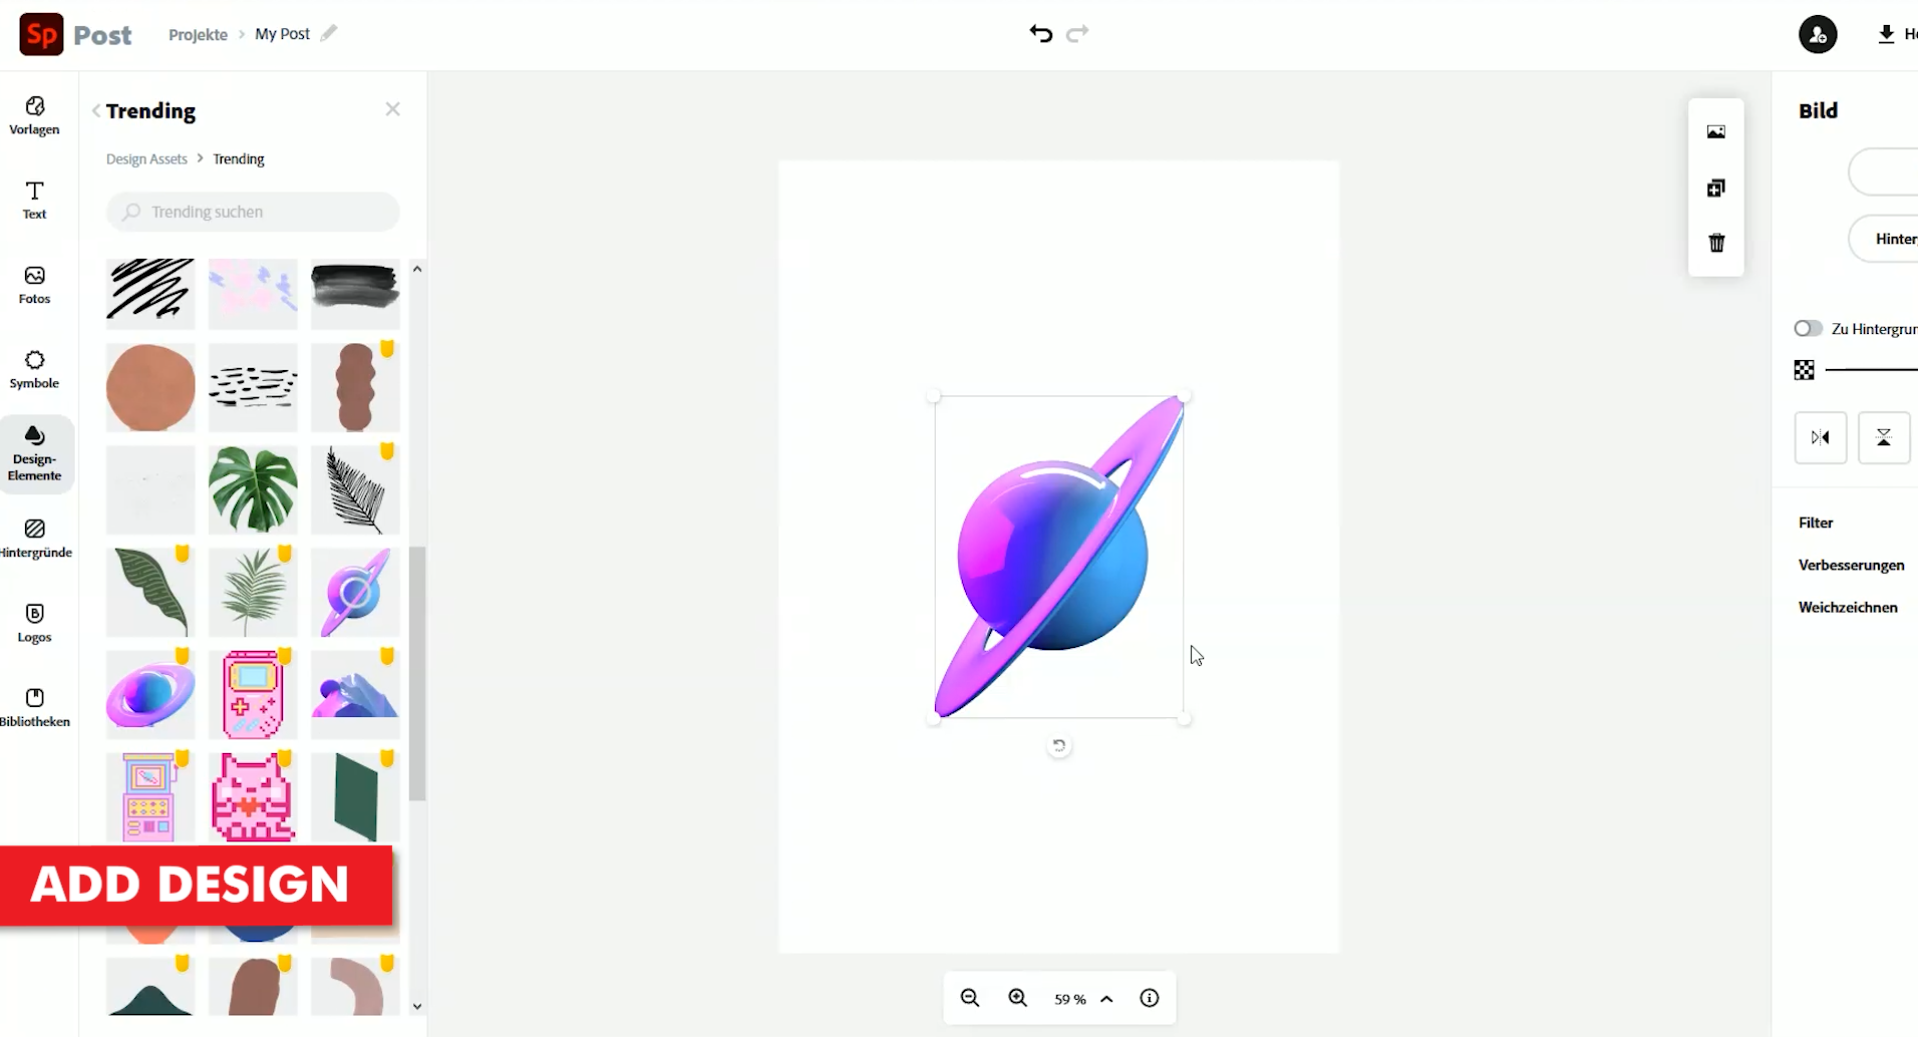
Once we’ve chosen our print paper size, you will be taken to the Adobe Spark designer interface. You will notice, on the left-hand side of the screen, are all the design elements and assets. There are several options available to help you create your tshirt designs.
What are the Adobe Spark design options:
- Templates
- Text
- Photos
- Icons
- Design Assets
- Background
- Logos
- Libraries
Adding Text & Images
For the purpose of this tutorial, we will be using the Design Assets section as well as the Text tool. It wouldn’t hurt to also take a look at the Icons section. There may be some interesting icons, which we can use in our t-shirt design.
So, the first step we need to take, is to begin getting our t-shirt design idea on paper. We started with some text.
Our goal for this t-shirt design, is to create something around the theme of space and girls.
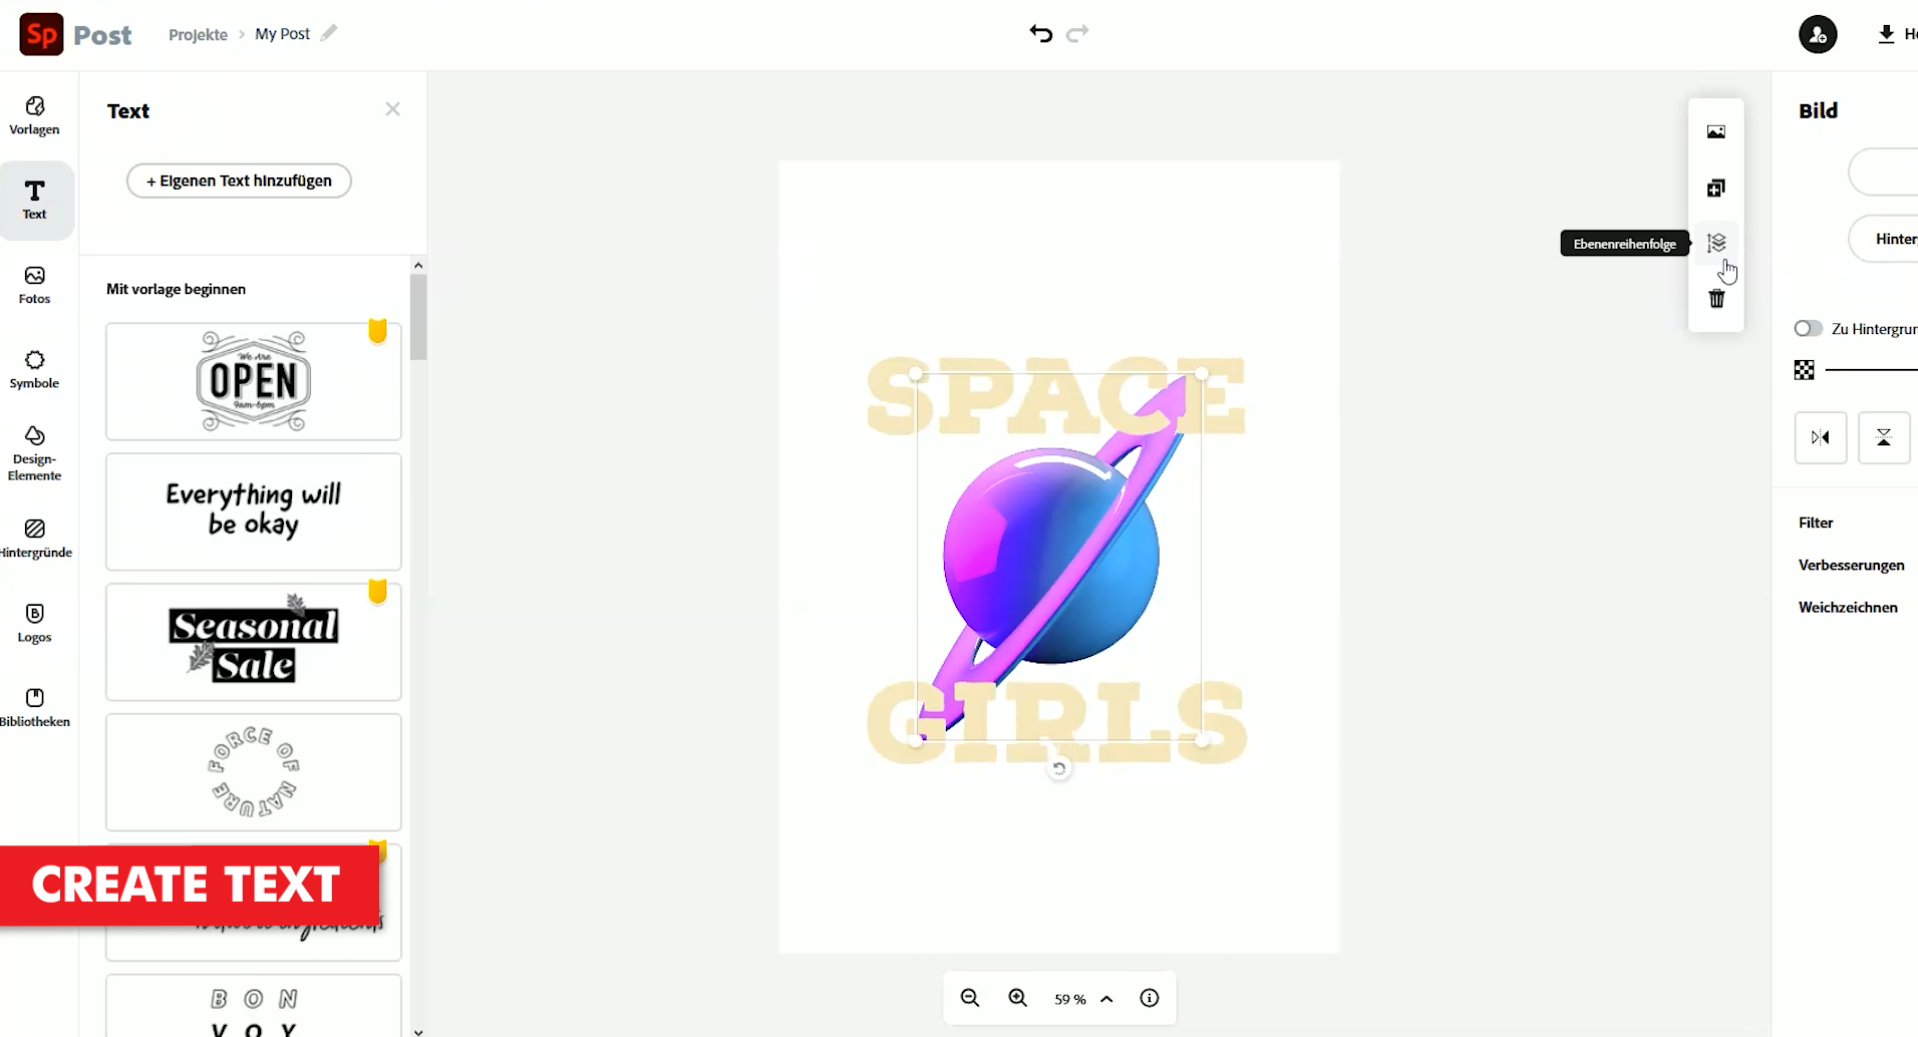
We first used the designs assets option to search for some space related objects and images. We found a pretty funky looking planet.
Then, we used the text tool and typed out the text for our design. Space Girls. Classic.
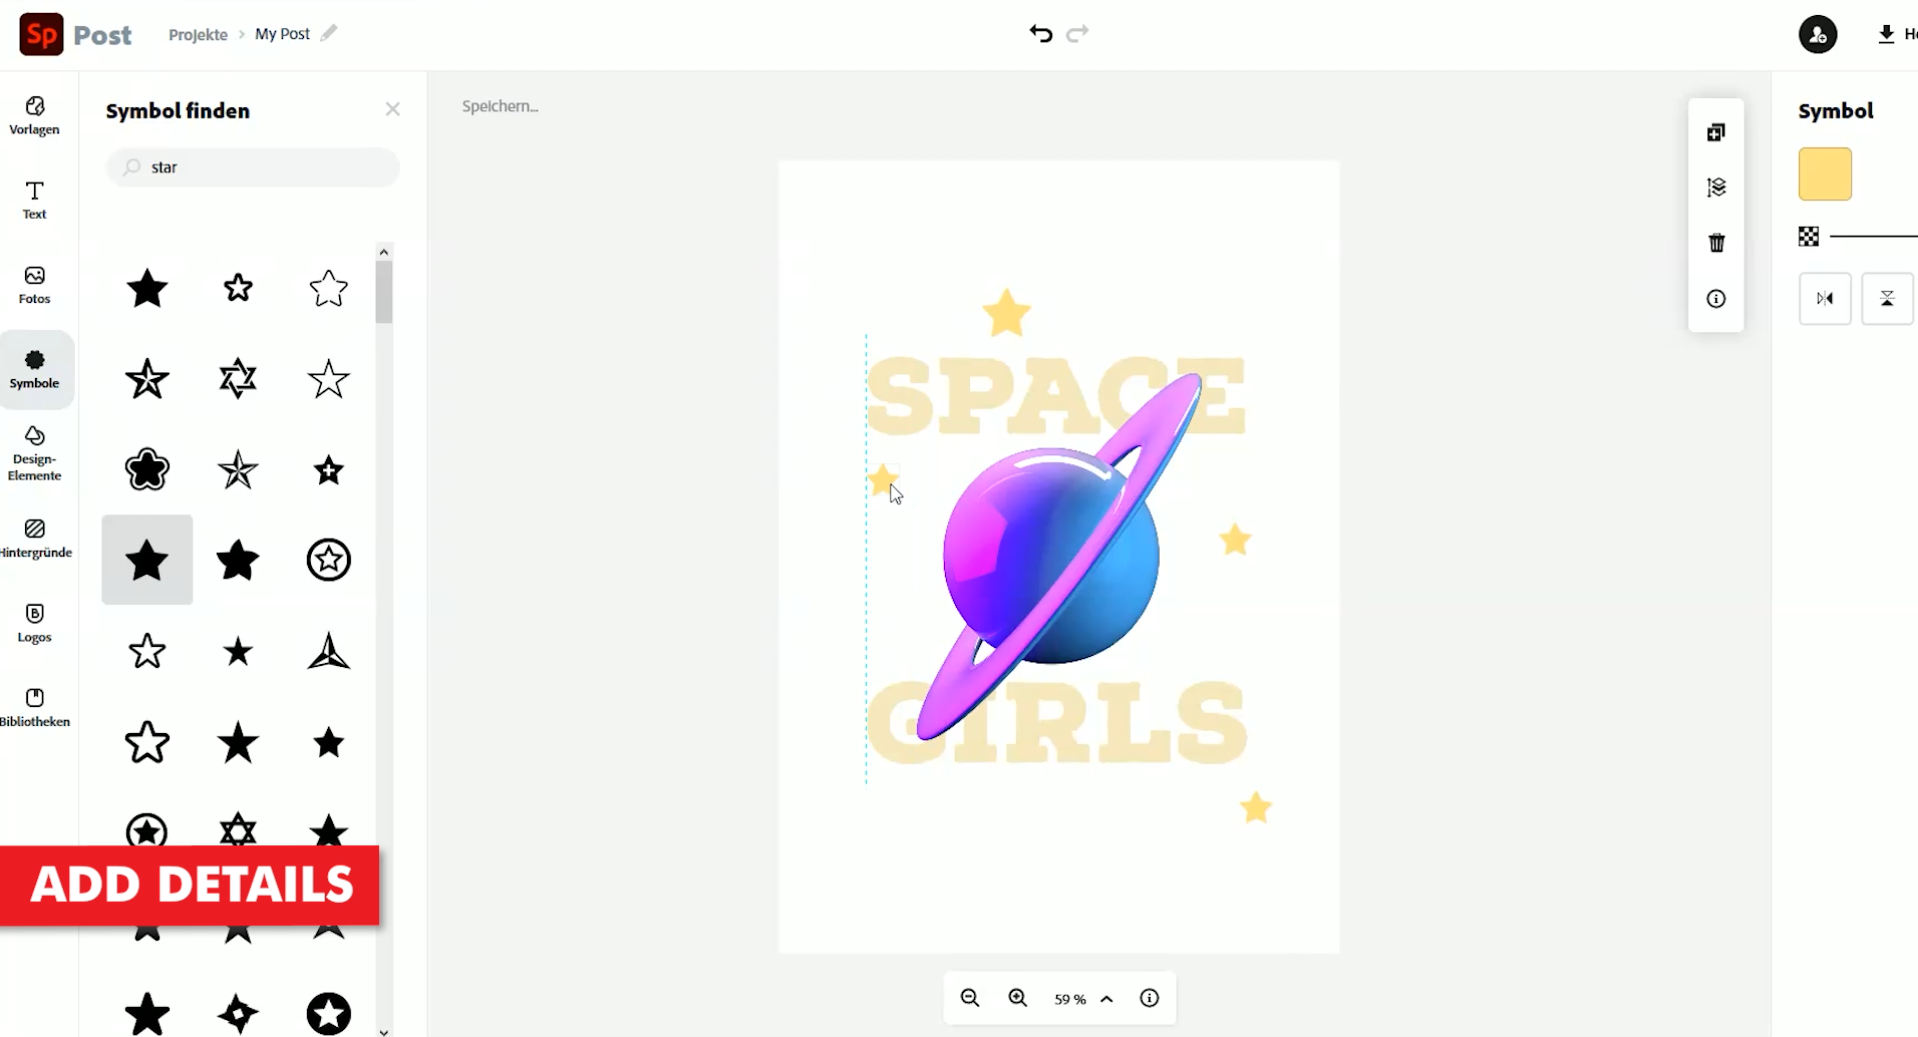
To spice it up a little, we head back over to the Design Assets section to find some more space images. Stars. Great.
Final Preparations & Exporting
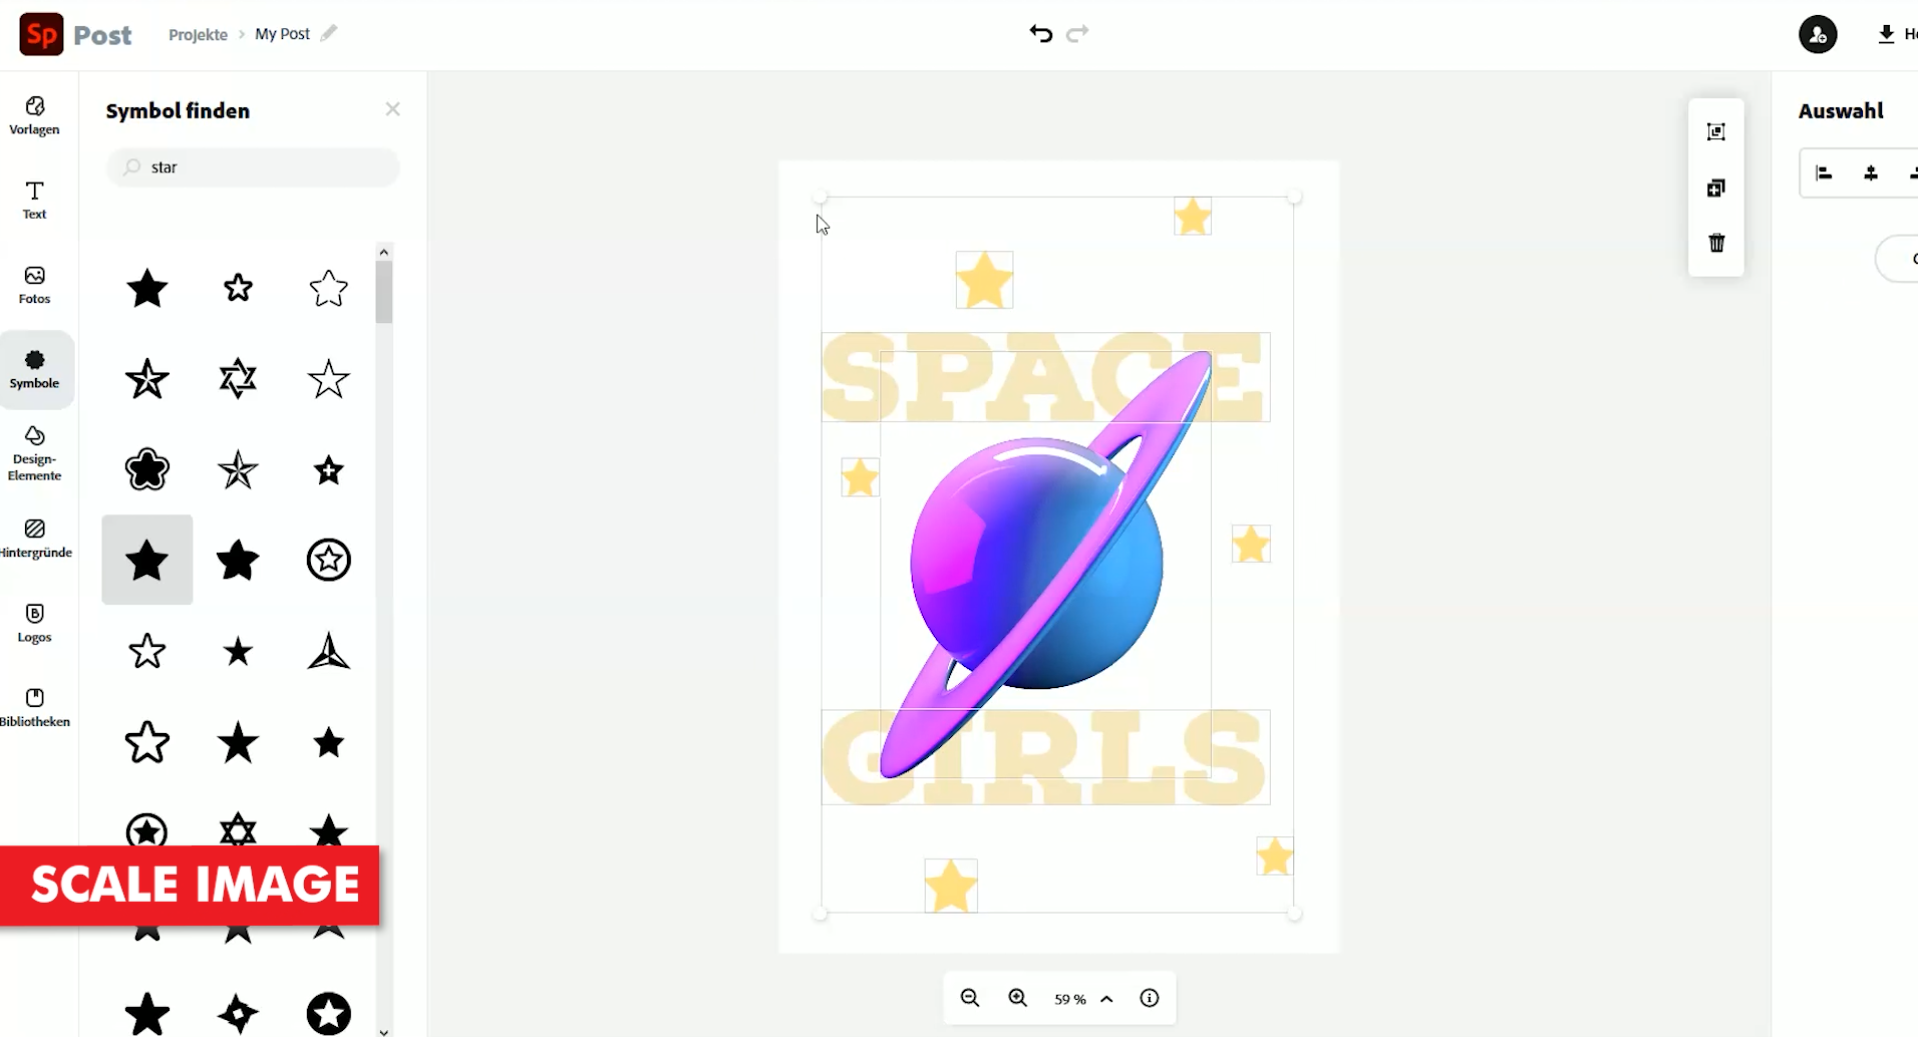
Once we have all our images and text in place, we can edit, scale and even change the colours of each object. As you click on an object on your canvas, options for this particular image will appear on the right hand side of the screen.
Now that our deisgn has been created, we now need to export the file in a good enough quality that it can be printed.
In the top right hand corner, you will find the export option under the button called “Download”. Clicking this, you will be presented with 3 options.
What are the Adobe Spark Download Options:
- PNG
- JPG
The PNG & JPG options are primarily for online use. As we mentioned before, you can still print them, but they will not be great. The quality of these images will be optimised for digital screens. The PDF option on the other hand, is best used for printable files. This is the option that we want to go with.
Printing Like a Pro
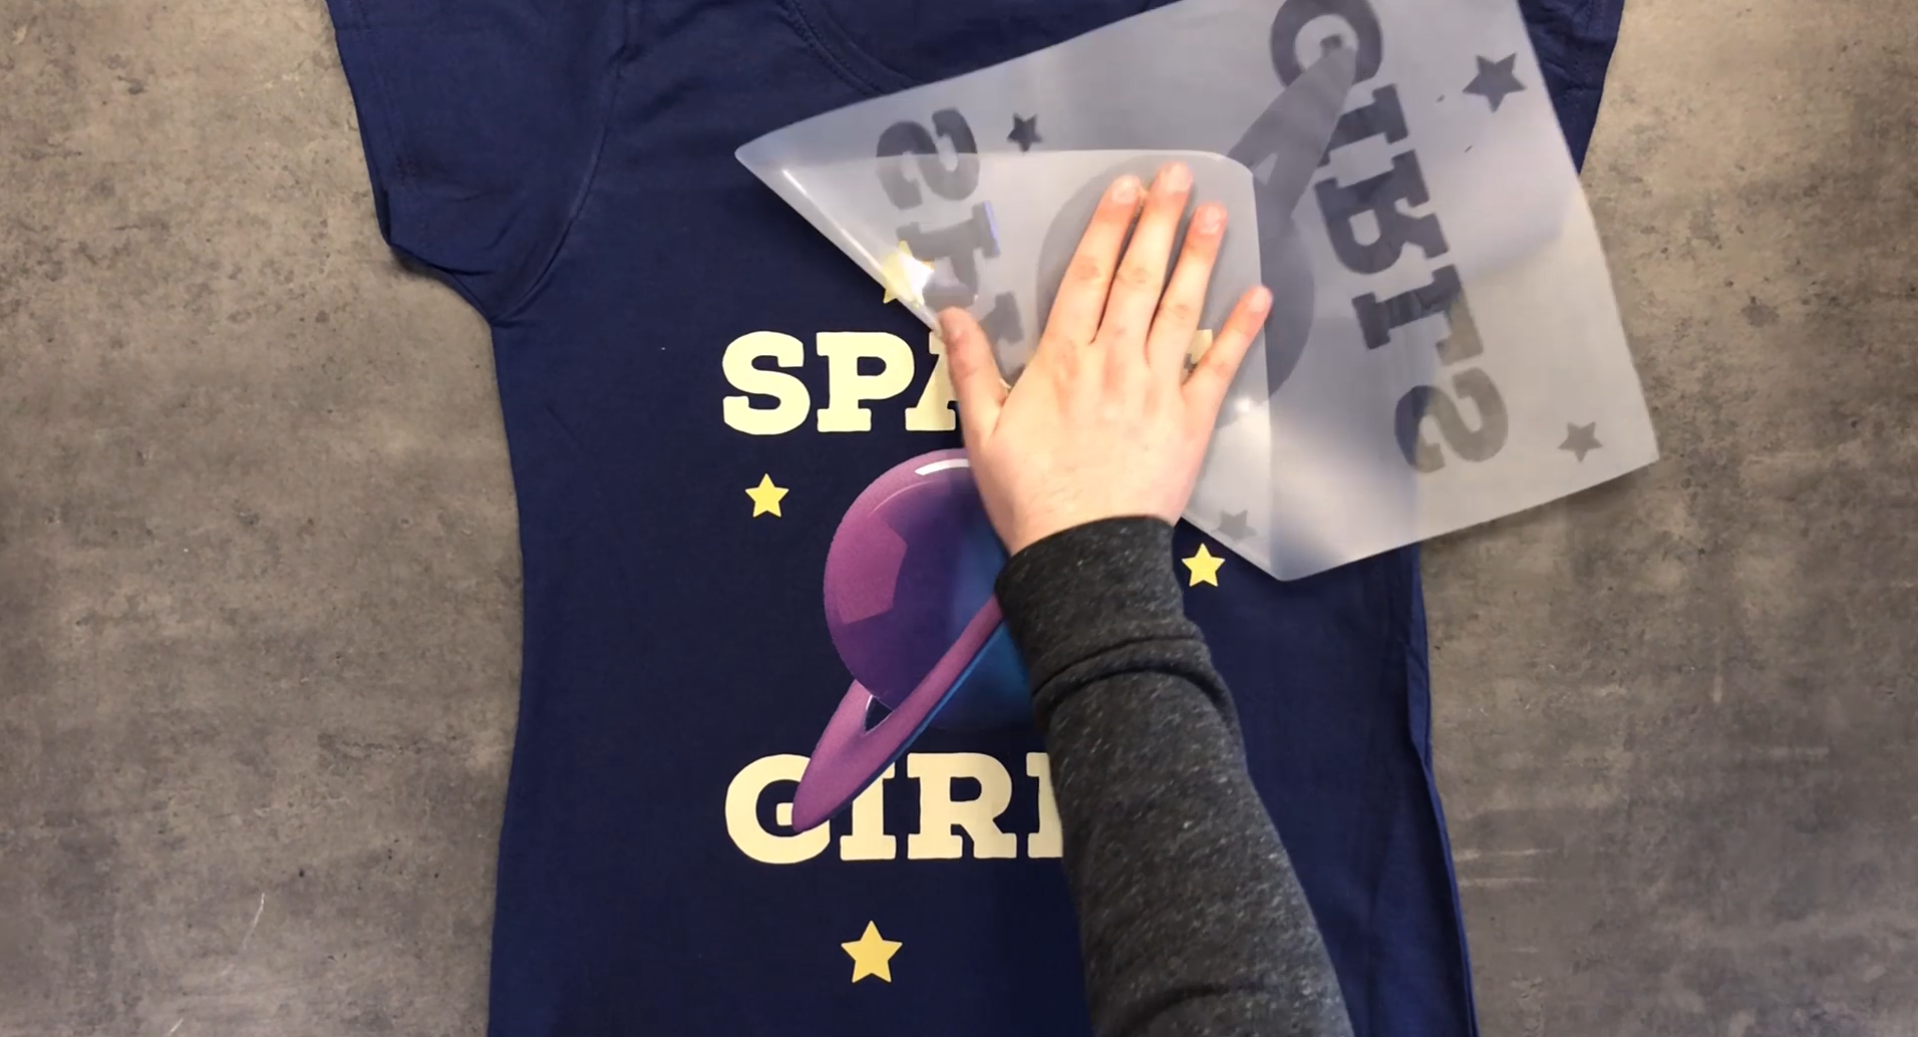
Now that we’ve managed to download our pretty amazing looking new t-shirt design, we just have to send it through the TransferRIP software.
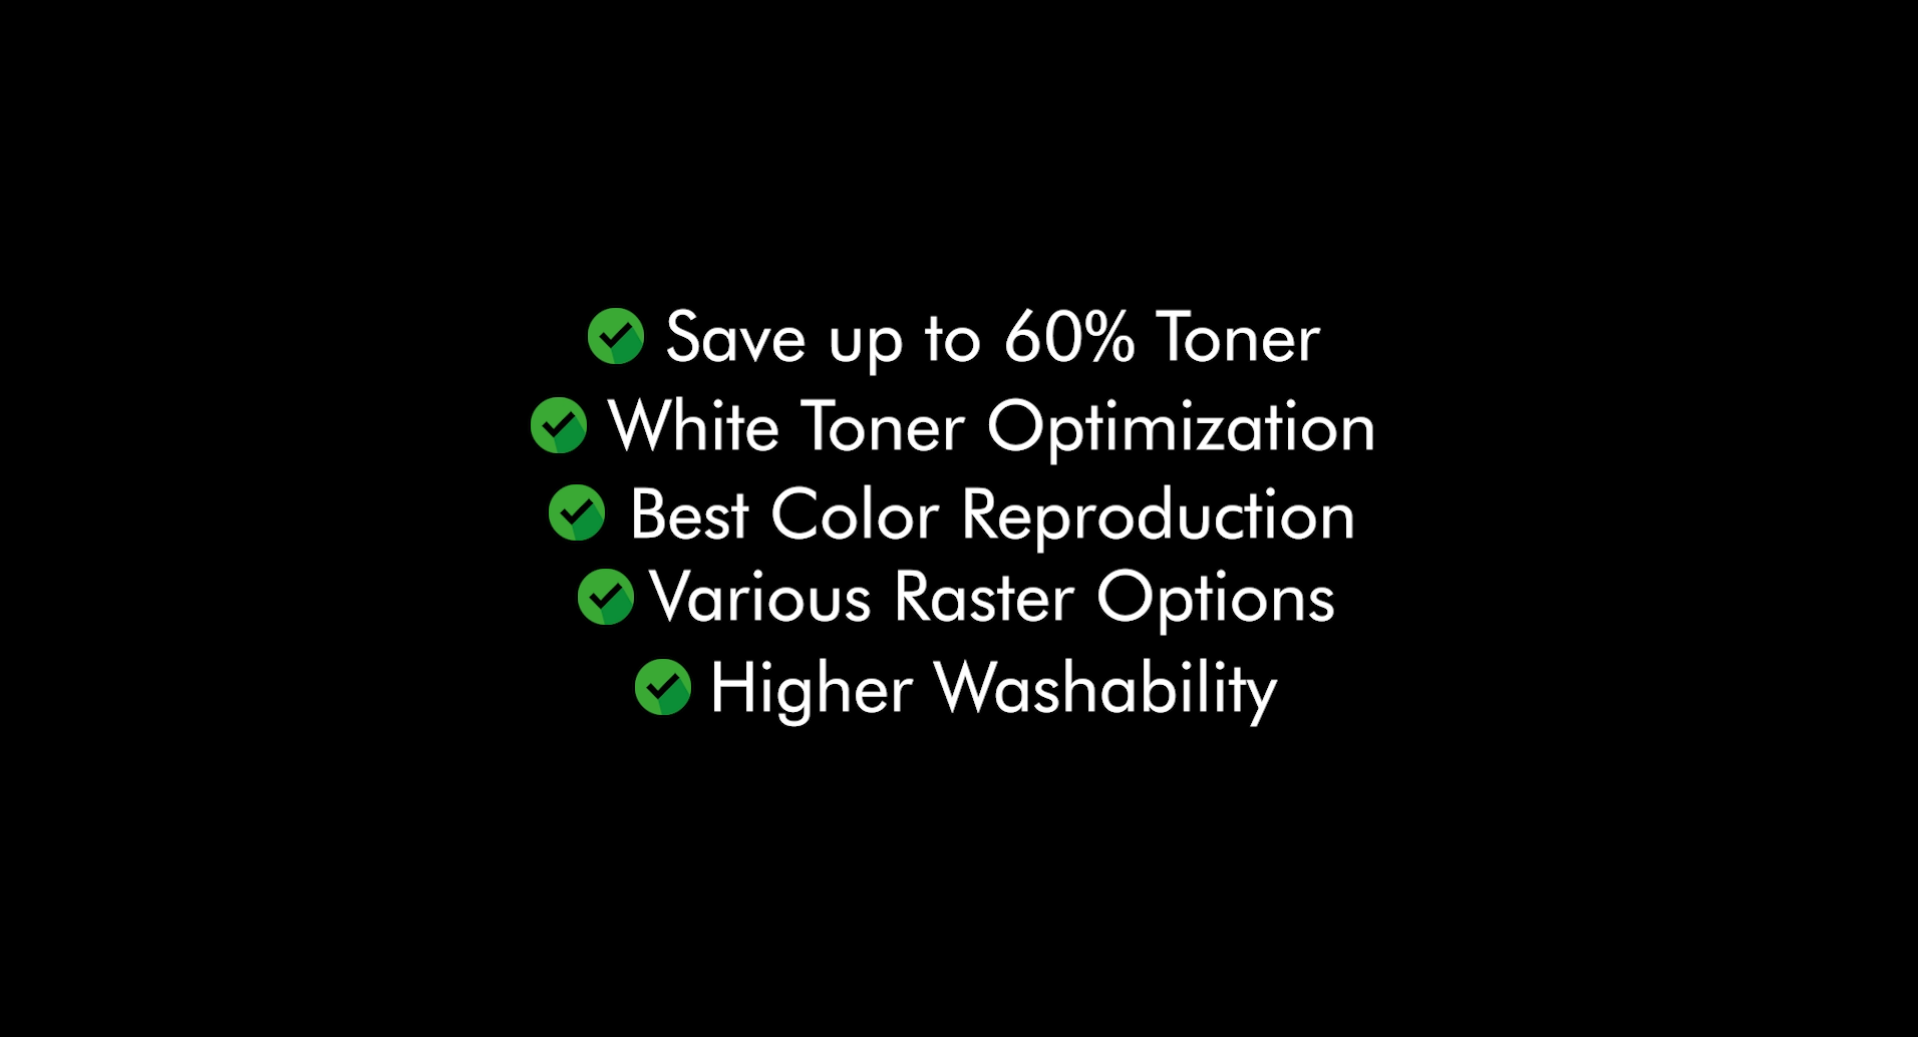
The TransferRIP software is great for reducing your white toner pritning costs as well as helping you print brighter, more washable and durable tshirt designs. If you would like to learn more about the TransferRIP software, then check out our TransferRIP posts.
Conclusion
For more information on the different ways you can create t-shirt designs for white toner printers, please take a look at our other tutorials. Our tutorials are primarily focused on how to make your life easier, so you can create designs for heat transfer papers and the OKI white toner laser printers.
Or sign up for the White toner transfer newsletter and we will send tutorials, tips & tricks and inspiration straight to your inbox.
You can learn more about our products over at our products page. We have a large range of products, which help you create and customise almost any garment or surface. Our goal is to help your business grow.
Leave a comment below. Let us know how your designs turned out and if you have any new topics which you would like to see, then please let us know too.

