How to print images with no white background
In this article, you will learn all about Photoshops Clipping Paths and how to print images with no white background. Without leaving Photoshop.
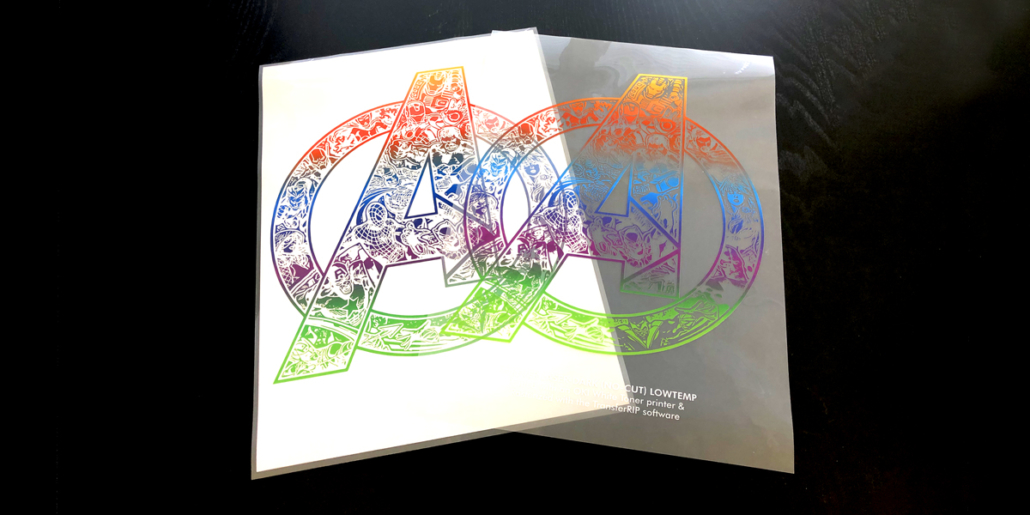
That’s right, it is possible to print heat transfer designs directly from photoshop without the need of any RIP software to remove the white background. With a little know-how, you can start saving on your overall toner costs.
This may not mean a lot to most, but for those of us who use digital heat transfers together with the range of OKI Data White Toner laser printers – this tutorial will be really helpful.
A Path to success
The first section of this tutorial will focus on designs which are open in photoshop, with the white background removed.
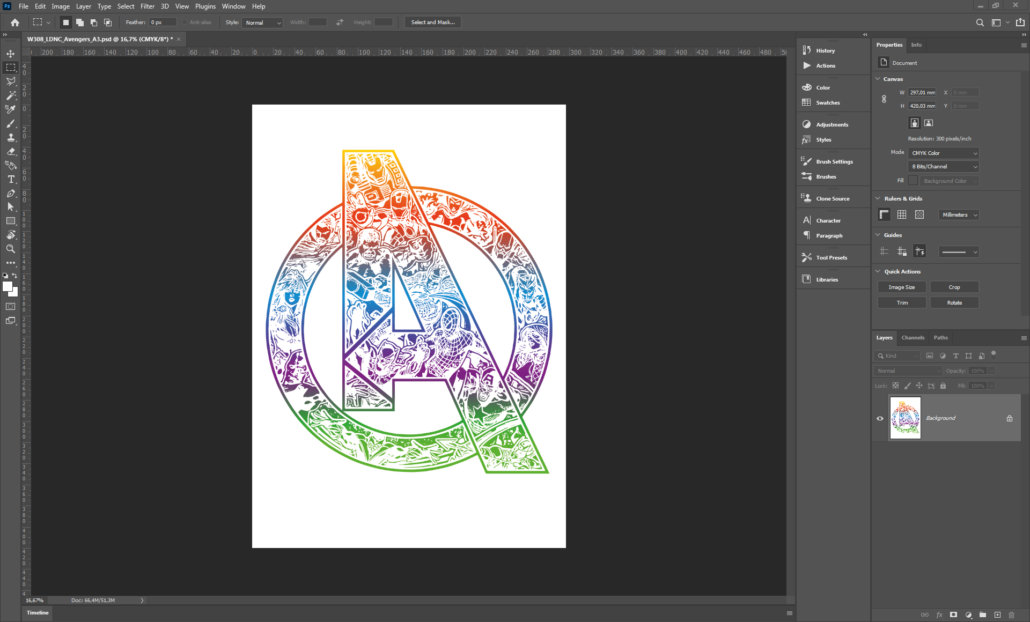
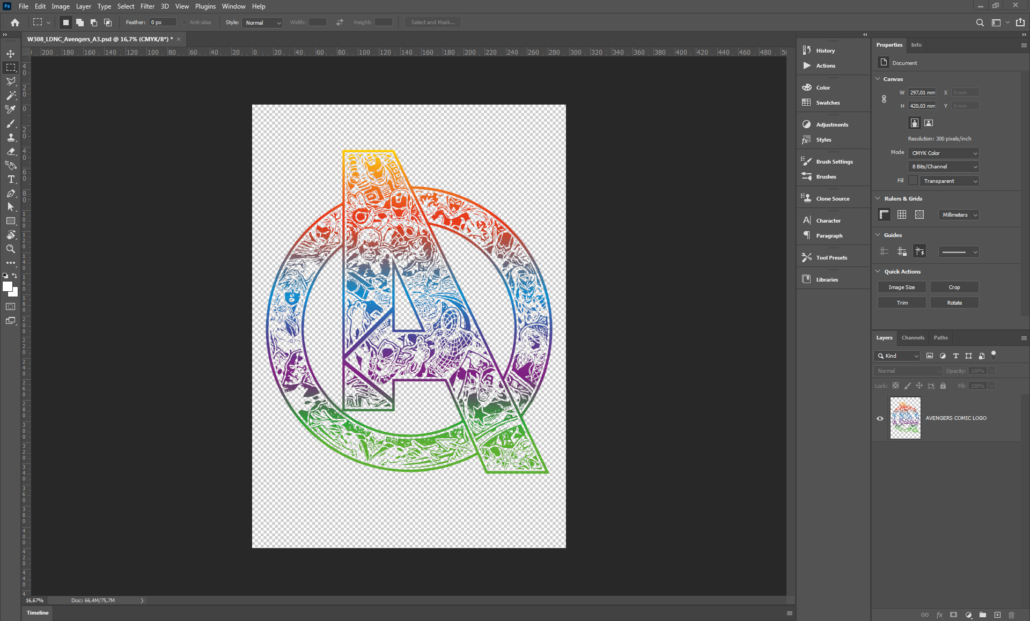
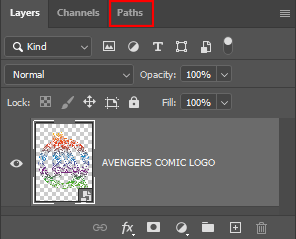
In the example images below, you can see that we have two versions of our design. One with and one without a white background. If we take a closer look at the photoshop layers, we can see one image has a flattened layer and the other shows the design on a transparent background. The layer with the transparent background is the one we need to work with today.
Take a look at our other tutorials to see how to remove a white background from our t-shirt designs.
Step 1: Create an image selection
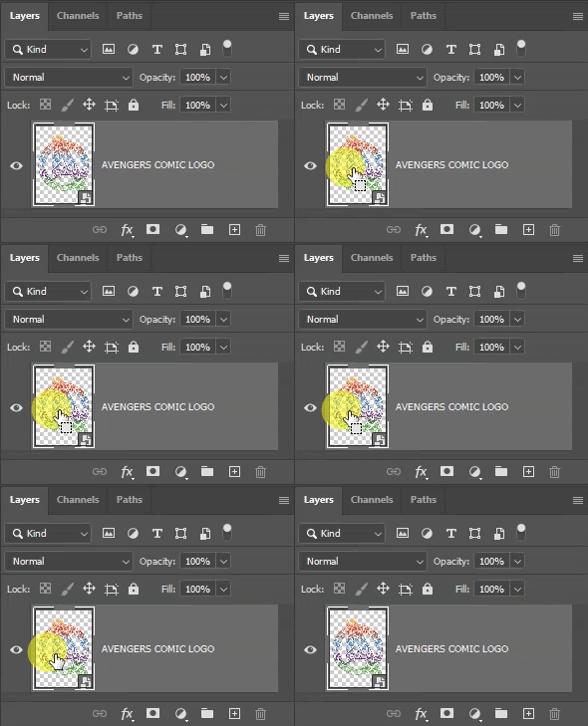
To begin with, we first need to move our mouse over to our image layer. Not the layer, but the image in the layer. Once our mouse is hovering over our image, we need to then hold down Ctrl (Windows) / Command (Mac). You will then see the mouse icon change. After that, you should click the image layer.
What should happen now is your whole image should be selected. You should see something which looks like hundreds of small Ants crawling around the edge of your design. If not, then you should repeat the steps about.
Once you see the ants crawling around, then this is exactly the result we wanted to achieve.
Step 2: Turn our selection to a path
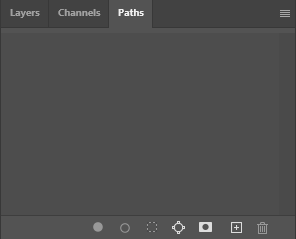
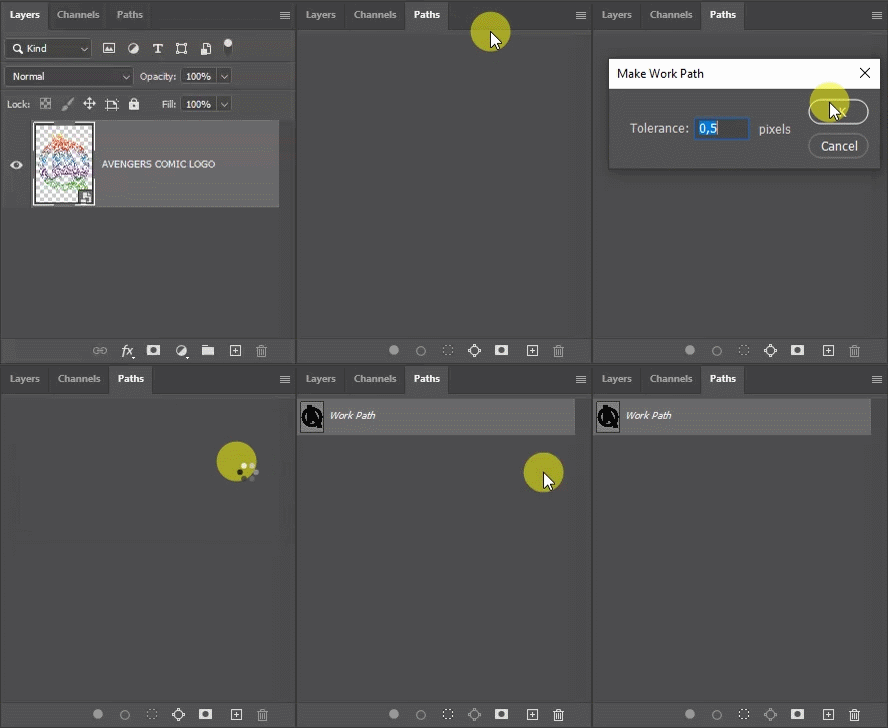
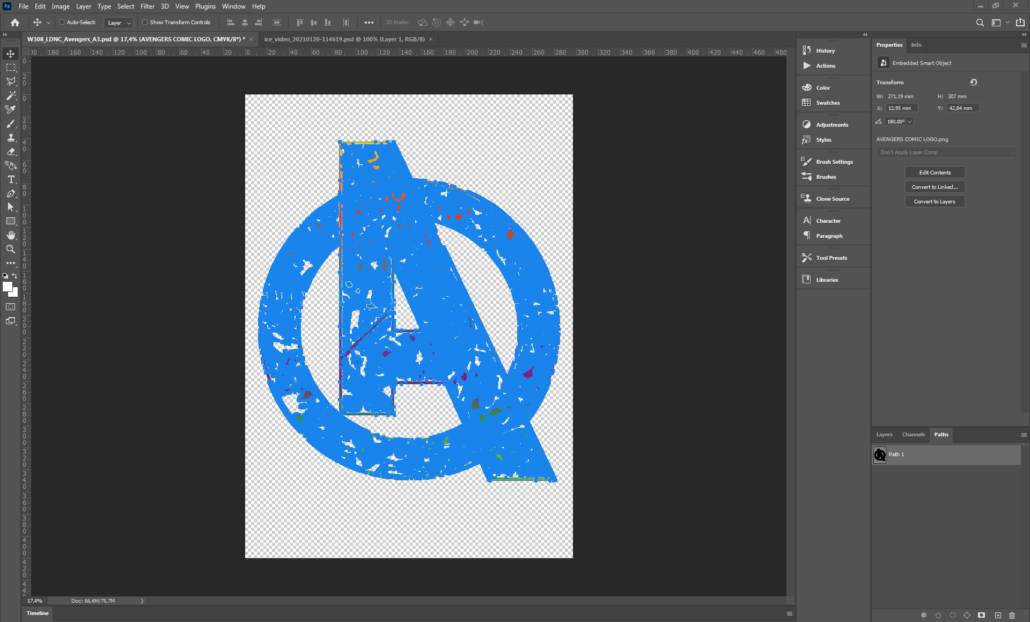
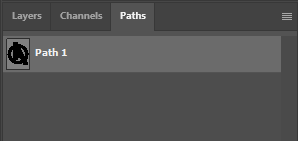
Now that we have isolated our image with a selection, we need to turn this selection into a path. To do this, we need to move our mouse back over to the layers panel. From here you should see a panel with the name Paths. If not, you can activate the paths panel by going to Windows in the top menu and choosing Paths.
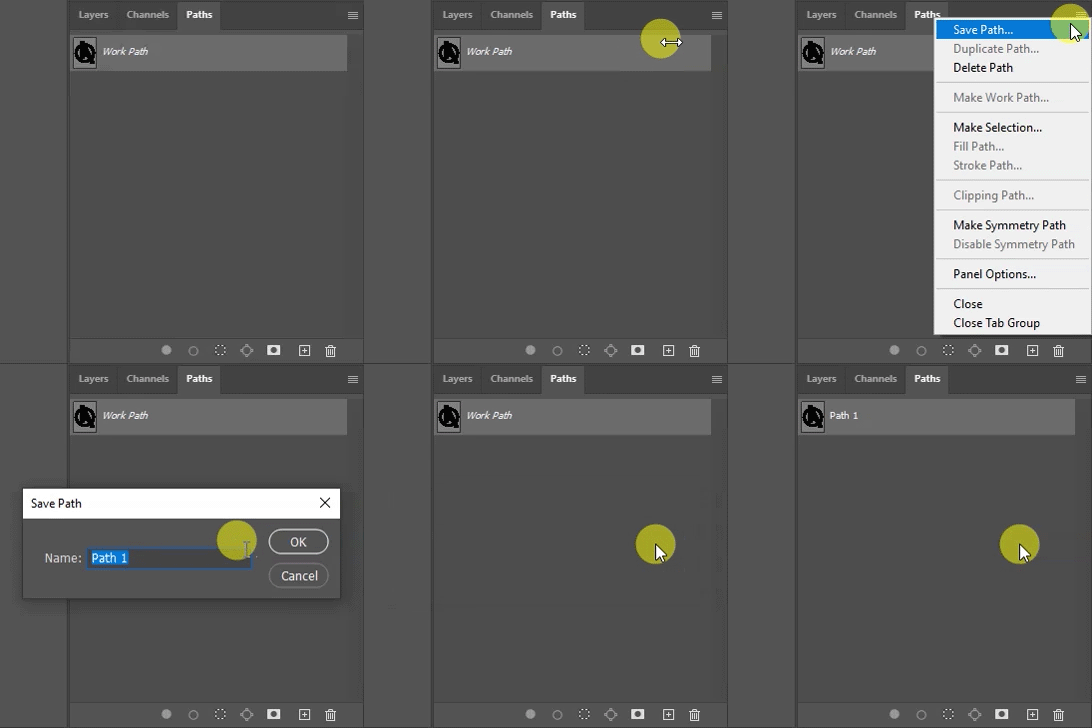
Click on the Paths panel and then click on the top right hand side menu. In the open menu, scroll down to “Make work path…” In the next window, click ok.
Now we can see that our design selection has gone from looking like a nest of ants running around and turned into an almost all blue block. This is our path. If we look back to the paths panel, you can see that we now have a path layer with the name “work path…”.
Now that we have a path of our design in the paths panel, we still can’t click print just yet. This path is not active at the moment, which mean it still cannot talk to our printer.
To activate our path, we need to return to the top right hand side menu of the paths panel. From this menu, we need to choose, “Save path…”. Then, choose a name and click ok.
Step 3: Activate the path
Now that our path has been saved, we need to activate the path and turn it into a clipping path, so that it can speak to our printer.
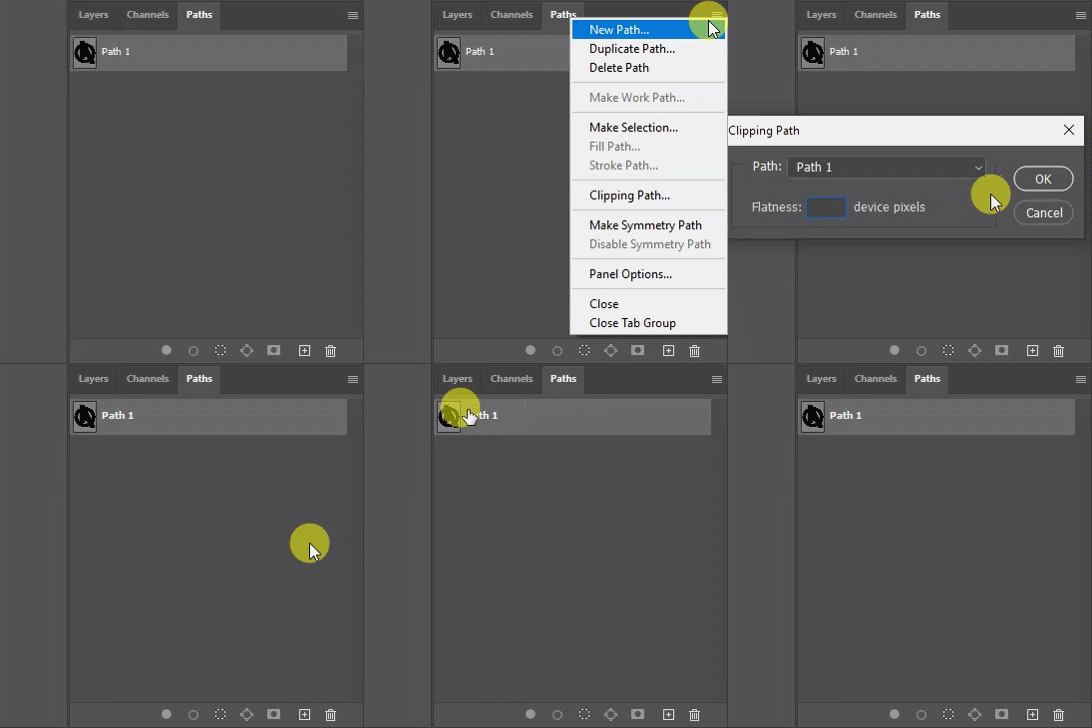
To activate our path, we need to once again head back up to the top right hand side menu and choose “Clipping path…”. Make sure that your newly named path appears in the path dropdown menu. Leave the flatness option blank for now and click ok.
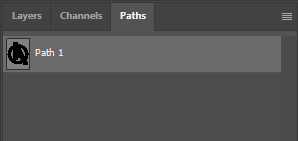
Now, you may have missed it, but our path layer name changed to a bolder version. What this means, is that our path has now been activated. All that’s left to do now is to save our design and click print. Directly from Photoshop.
Your design will now print out with no white background. Congratulations!
Conclusion
For more information on working and printing with Photoshop clipping paths, please take a look at our other tutorials. Our tutorials are primarily focused on how to make your life easier, so you can create designs for heat transfer papers and the OKI white toner laser printers.
Or sign up for the White toner transfer newsletter and we will send tutorials, tips & tricks and inspiration straight to your inbox.
You can learn more about our products over at our products page. We have a large range of products, which help you create and customise almost any garment or surface. Our goal is to help your business grow.
Leave a comment below. Let us know how your designs turned out and if you have any new topics which you would like to see, then please let us know too.

